
 iTerm个性化设置
# 花里胡哨
# 终端模拟器
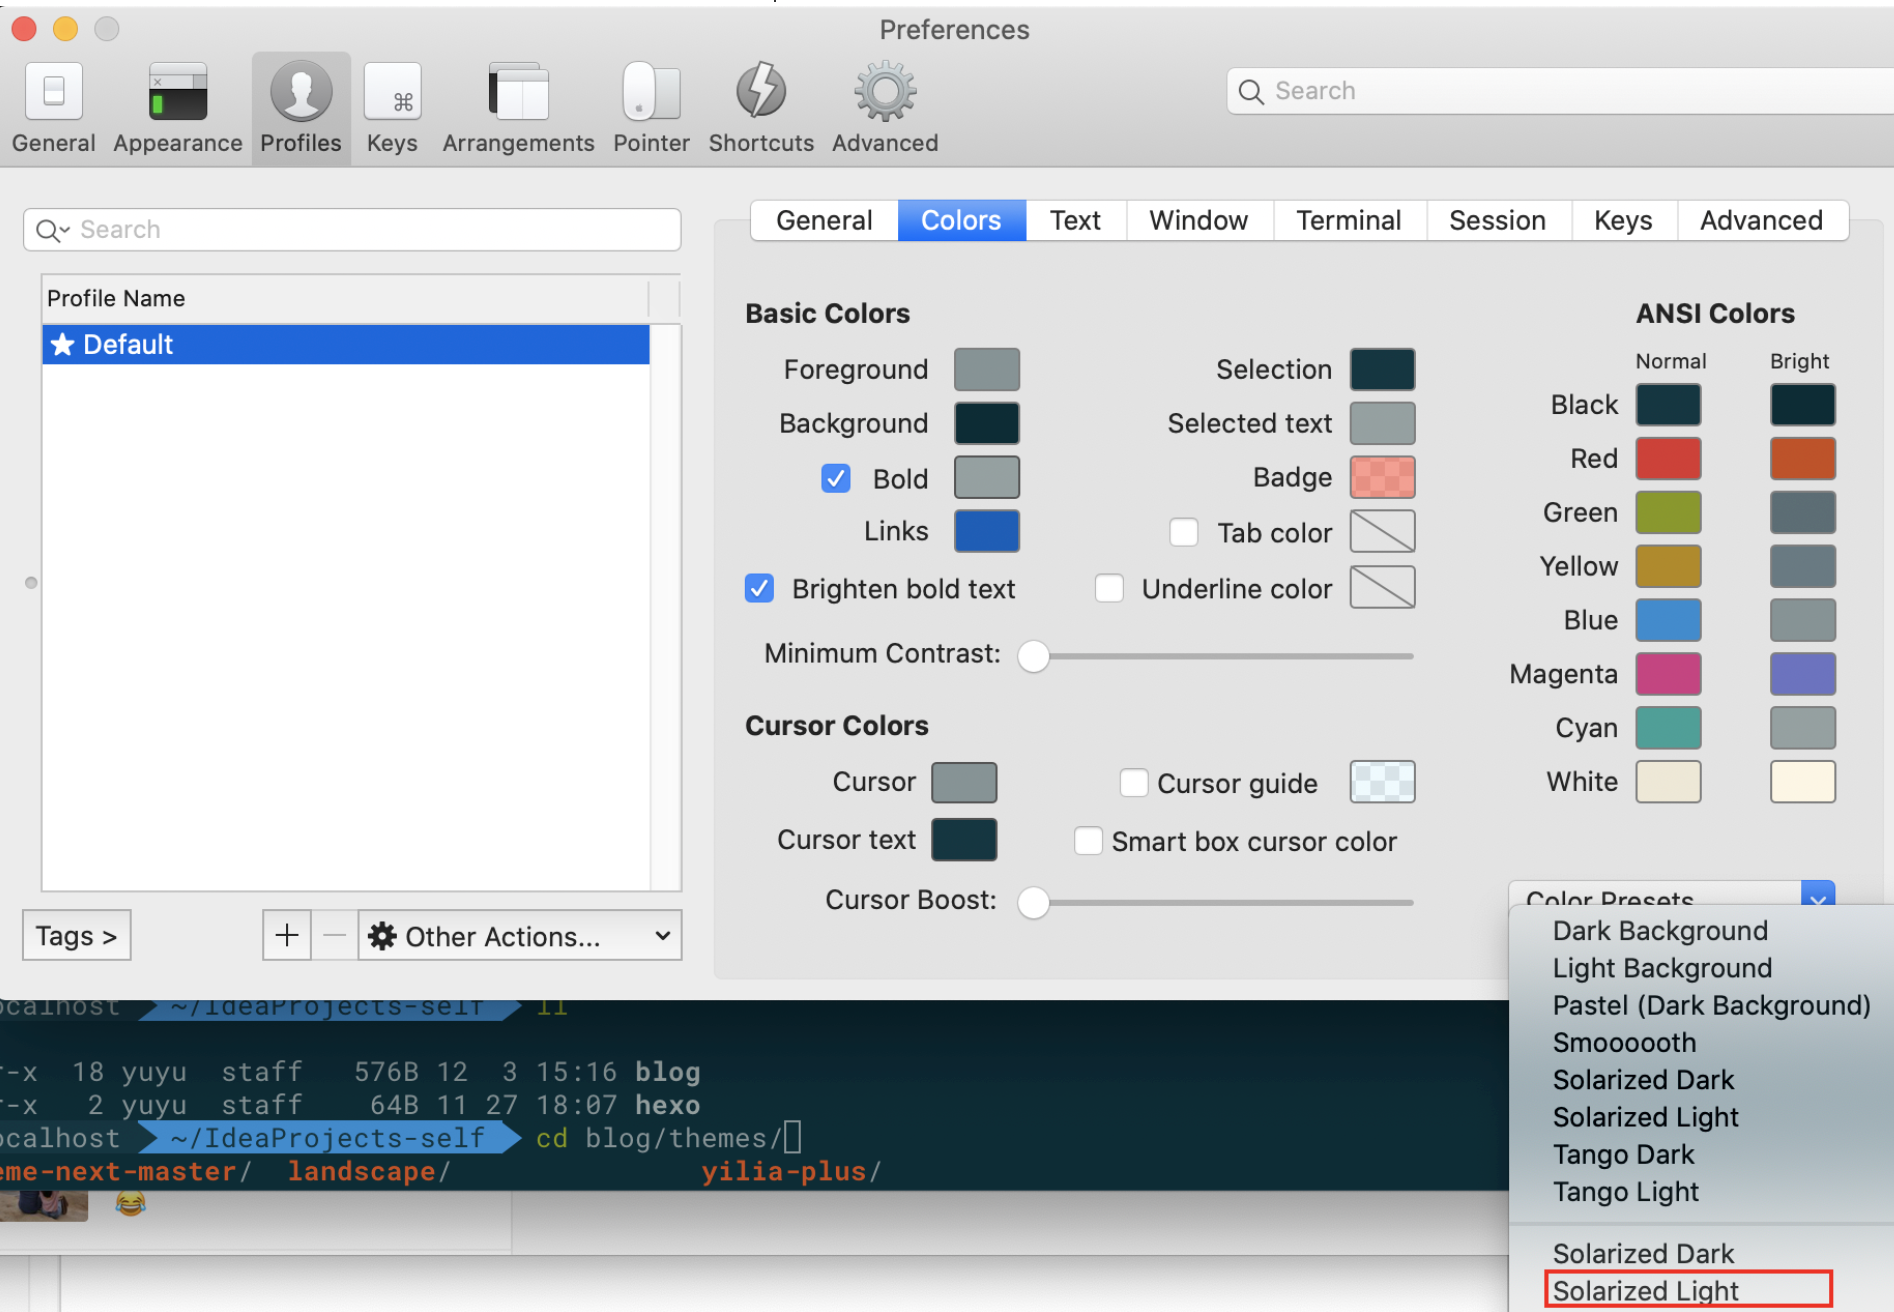
选用 solarized (opens new window),下载解压,然后打开 iTerm2 下的偏好设置 preference ,点开 profiles 下的 colors 选项,点击右下角的 Color Presets 选项,选择 import ,导入解压到的 solarized 文件下的 Solarized Dark.itermcolors
# 主题
# zsh
zsh 是一款强大的虚拟终端,是 Oh My Zsh 的爸爸,所以需要先装它。 在命令行输入:
zsh --version
如果输入 zsh 的当前版本号就说明装好了,一般 Mac 自带有的 如果没装则需要输入:
brew install zsh zsh-completions
这是用 Homebrew 装,需要 Mac 上有 Homebrew,它的网站:https://brew.sh/ (opens new window)
# Oh My Zsh
Oh My Zsh 是基于 zsh 的一个扩展工具集,它提供了丰富的扩展功能
它可以通过curl或者wget来安装
- via curl
sh -c "$(curl -fsSL https://raw.githubusercontent.com/robbyrussell/oh-my-zsh/master/tools/install.sh)"
- via wget
sh -c "$(wget https://raw.githubusercontent.com/robbyrussell/oh-my-zsh/master/tools/install.sh -O -)"
装好之后就可以换到 agnoster 主题,就是之前看到的那张颜值主题,Oh My Zsh 一般自带有这个主题。 可以看看它的默认主题:
ls ~/.oh-my-zsh/themes
需要修改主题只需:
vim ~/.zshrc
然后把里面 ZSH_THEME 的值改为 ZSH_THEME="agnoster",保存退出
(点击这里 (opens new window)还有各种主题,任君翻牌~)
应用配置:
chsh -s /bin/zsh
重启 iTerm2 打开后会发现, 乱码了... 别急继续下一步
# Powerline
Git 下来安装:
git clone git@github.com:powerline/fonts.git
cd fonts
./install.sh
2
3
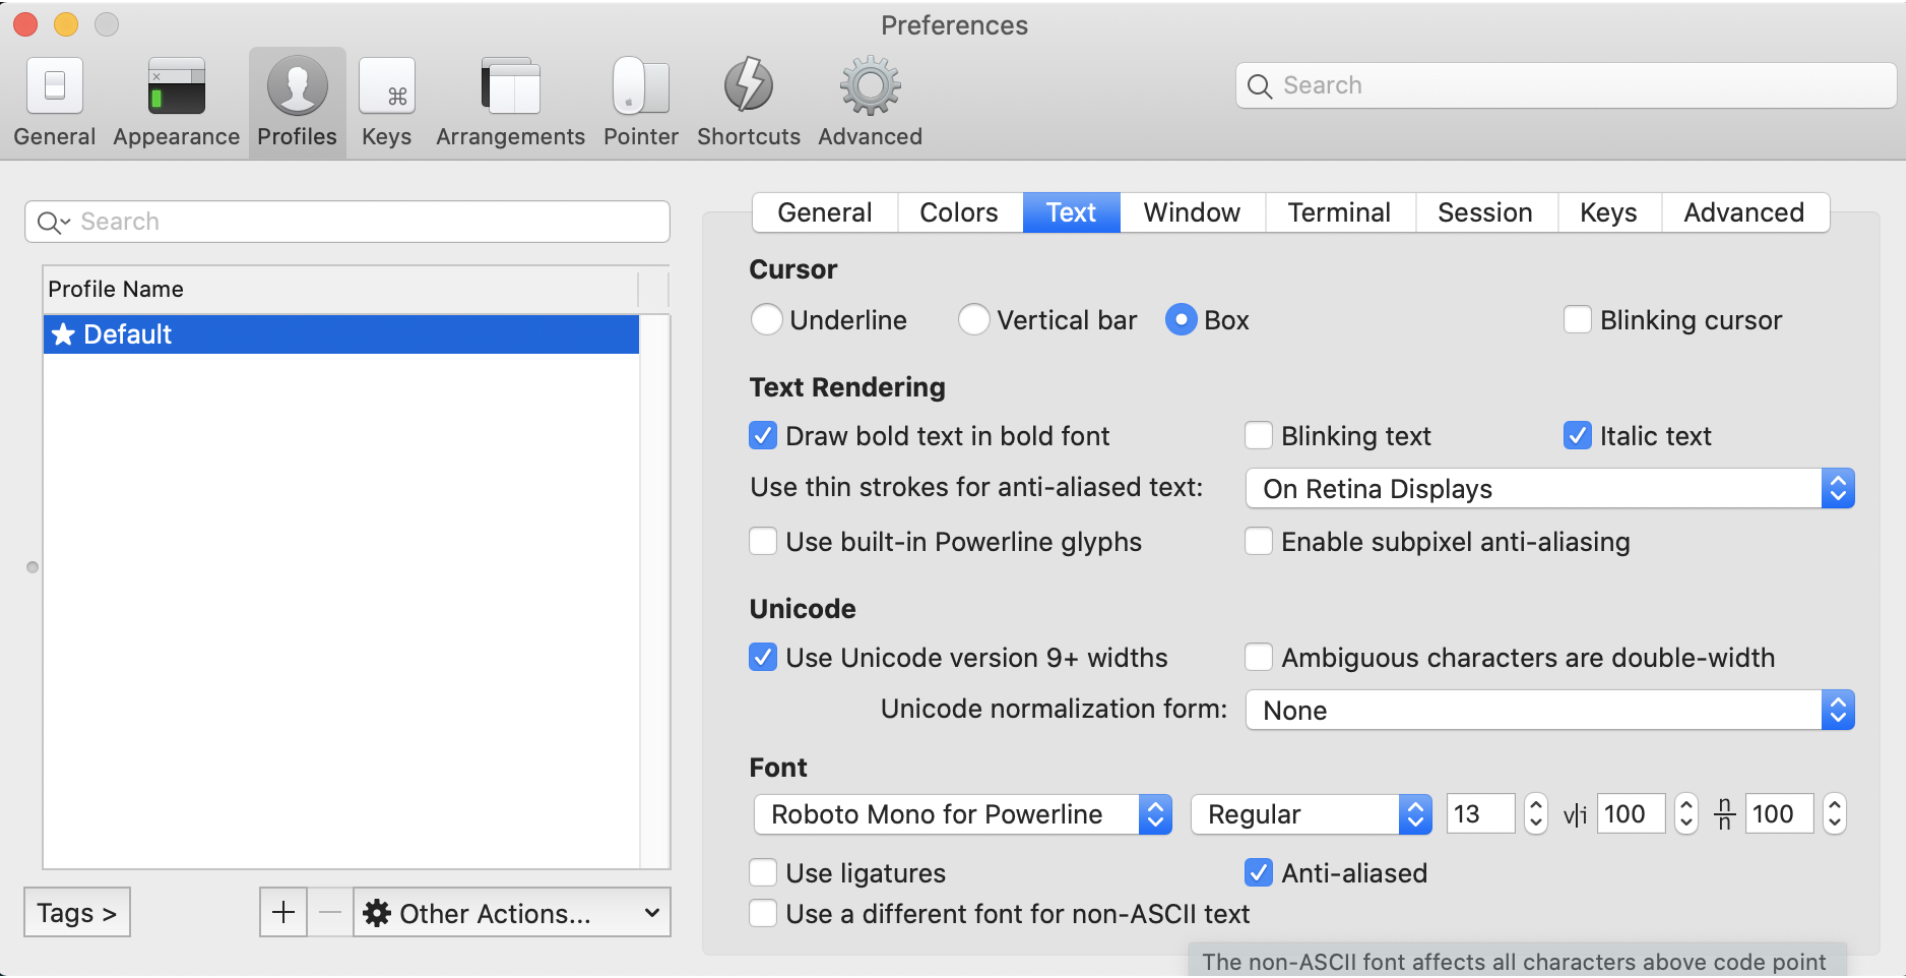
然后到 iterm2 配置,设置字体为Roboto Mono for Powerline:
# 自动提示与命令补全
比 iTerm2 自带的更强大的命令提示与补全
- 克隆仓库到本地 ~/.oh-my-zsh/custom/plugins 路径下
git clone git://github.com/zsh-users/zsh-autosuggestions $ZSH_CUSTOM/plugins/zsh-autosuggestions
- 用 vim 编辑 .zshrc 文件,找到插件设置命令,默认是
plugins=(git),我们把它修改为plugins=(zsh-autosuggestions git)
PS:当你重新打开终端时可能看不到变化,可能你的字体颜色太淡了,我们把其改亮一些:
cd ~/.oh-my-zsh/custom/plugins/zsh-autosuggestions- 用 vim 编辑 zsh-autosuggestions.zsh 文件,修改
ZSH_AUTOSUGGEST_HIGHLIGHT_STYLE='fg=10'
# 语法高亮效果
- 使用 homebrew 包管理工具安装 zsh-syntax-highlighting 插件
brew install zsh-syntax-highlighting如果电脑上还没有安装 homebrew,请先安装 homebrew
/usr/bin/ruby -e "$(curl -fsSL https://raw.githubusercontent.com/Homebrew/install/master/install)"
- 配置.zshrc 文件,插入一行
source /xxx/zsh-syntax-highlighting/zsh-syntax-highlighting.zsh
注: /xxx/ 代表.zshrc所在的路径
source ~/.zshrc
2
3
- 重新打开 iTerm2 窗口(或新打开一个 iTerm2 窗口)即可以看到效果
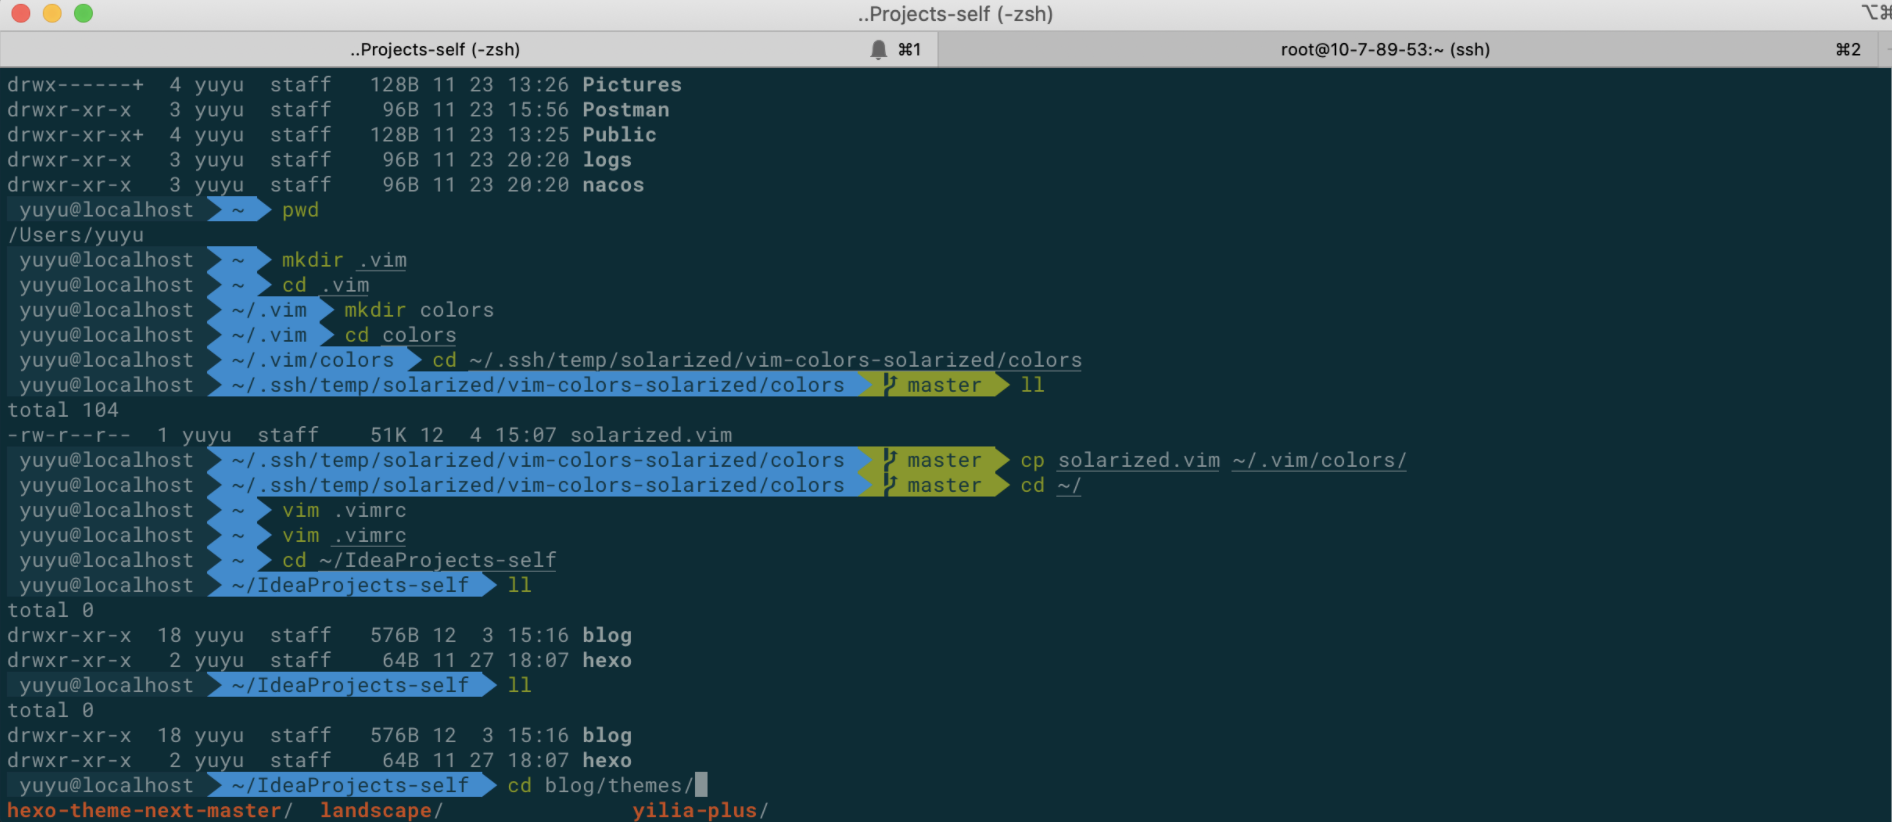
# vim 效果
Solarized 是个很牛逼的配色项目,主流 OS、IDE、Editor 都有它影子。
## git下Solarized 的源码
git clone git://github.com/altercation/solarized.git
## 进入文件夹
cd solarized/vim-colors-solarized/colors
#下面可能要管理员权限
sudo mkdir -p ~/.vim/colors
sudo cp solarized.vim ~/.vim/colors/
## 创建.vimrc文件
sudo vim ~/.vimrc
## 把下面这三行复制进去
syntax enable
set background=dark
colorscheme solarized
2
3
4
5
6
7
8
9
10
11
12
13
然后保存 .vimrc, 退出
# 扩展
- iTerm2 默认使用 dash 改用 zsh 解决方法:
chsh -s /bin/zsh - iTerm2 zsh 切换回原来的 dash:
chsh -s /bin/bash - 卸载
oh my zsh,在命令行输入:uninstall_oh_my_zsh - 路径前缀的 XX@XX 太长,缩短问题:
编辑
~/.oh-my-zsh/themes/agnoster.zsh-theme主体文件,将里面的build_prompt下的prompt_context字段在前面加#注释掉即可